Plumber's License Revoked
- wrightkatiekrw
- Jan 16, 2023
- 6 min read
Hello and welcome back to another update on Wallpaper Acres! We are 5 months into turning this house into a home and we are one project away from moving in!
This week, we had another dumpster delivered to dispose of the old kitchen counters and whatnot along with soon to be guts from the upstairs hall bath. During the week, we made a couple of trips to work on smaller projects and to apply coats to the butcherblock counters. We were able to get the downstairs bathroom put back together by installing the new toilet and old pedestal sink. Side note on the toilet, make sure you take correct measurements if you have a door that would need to open past the seat...we bought the wrong one with an elongated bowl and had to purchase a different one with a standard-sized bowl in order to accommodate for the laundry room door opening and closing...glad we realized that prior to install! We also used a product called "Better than Wax" toilet seal, this is a rubber seal and it eliminates the mess that comes with a wax ring. I highly recommend this product as it allows you to wiggle the toilet to just the right spot with out getting wax everywhere! Yes, it is a couple more dollars than your ordinary wax seal but so very worth it! John was also able to re-install the pedestal sink that came with the house and I plumbed it in, when we turned the water on to it, water started gushing everywhere...turns out that there was a hole in the J-bend that was causing the issue so we had to buy a new $6 part but once we exchanged the old for the new, all was good! It is nice to have a functioning main floor bathroom again as this toilet is what caused the first major hurdle and has not be functioning for the past 5 months.


I was successful in plumbing the pedestal sink but quickly had my self-assigned plumber status revoked when installing the toilet in the master bathroom. Turns out that when you do not tighten at an equal pace on each side, there will be tension and the flange will ultimately crack and break...yep, I know this from experience so now we have a broken flange and an uninstalled toilet! Glad that we plumbed in and installed the downstairs toilet as that is now our only functioning toilet in the house...seems like we can only have one working toilet at a time! More to come on if I am able to regain my self-proclaimed plumber title.
A quick project that I worked on this weekend was to spray paint the large wall air return registers. The one downstairs was black to match the previous color scheme and the one upstairs was yellowed from age. John wanted to try to spray paint them white to refresh them as a can of spray paint costs $8 vs. the $50-$60 to replace them with new ones. I figured that this would work and ultimately help us save a little bit of money. I used soap, water and a sponge to clean them off as they had A LOT of dust on them then I spray-painted them white and they look good as new for a fraction of the cost! I will put this in the W-column!
So far, I have 4 coats of butcherblock oil on the counters and am still going. The counters being 2-inches thick play a major role into this as the first 3 coats were sucked right up by the wood. The fourth one seemed to do better. I think we will be done with 1-2 more coats, fingers crossed! The counters are looking fantastic and are so close to being wrapped up. Once they are finished, I will post a full picture that will have the cabinets on display front and center (still planning to do a post just on cabinets)!
The main goal for this weekend was to demo the upstairs hall bath and John was able to knock that out on Saturday. He started with the shower/tub insert. The walls of this insert were your standard insert that the previous owners had used peel and stick tiles to "jazz" it up.


Those panels were not the lightest things and were just an awkward size to move but we persevered.

From there, John removed the green board that covered 2 of the 3 walls and then the drywall from the third wall...ideally all 3 walls should have been green board as it was a shower but only 2 were. Once those were removed, we turned our attention to the tub, not the easiest thing to remove as it is a big item that is wedged into a tight space. We did briefly debate keeping the tub for cost savings but it had some chips and it was raised above the subfloor so we went ahead and removed it. We were able to finagle it out of the space but I was not strong enough to lift it so Adam came to the rescue and he and John were able to get the tub to the dumpster. John also discovered a nice, hidden surprise in the wall from the framing crew...

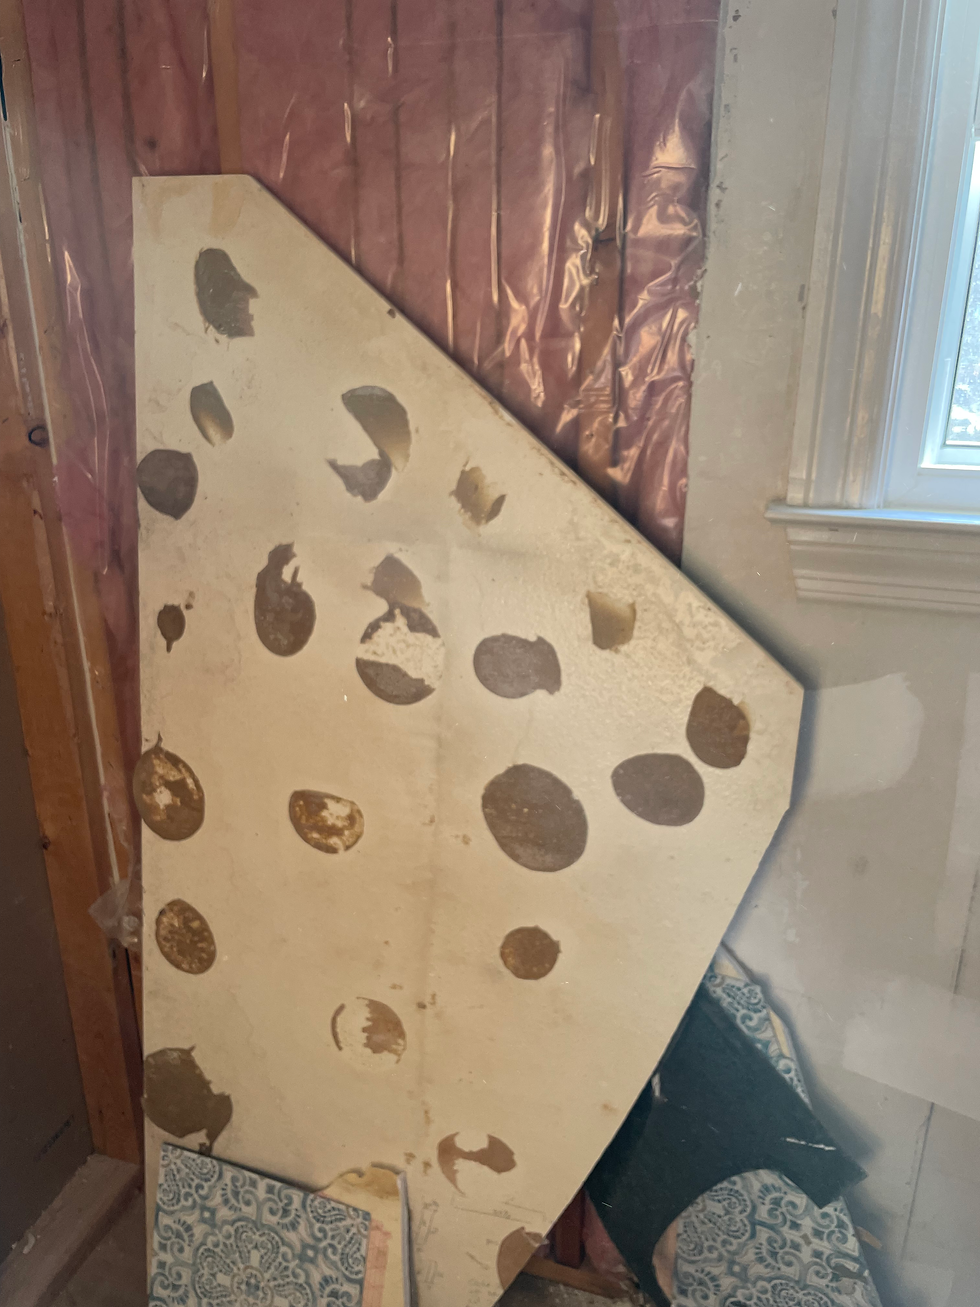
Next, John turned his attention to the one-sink, self-dyed vanity. Probably one the worst design features in the house (photo for reference below). I removed the p-trap and that smelled 100x worse than the garbage disposal and sink p-trap so that was gross! It was completely black from what we assume came from many home hair-dying sessions as well as the DIY sink project.

We decided to toss all of the plumbing parts and we will outfit with a new once we get the new vanity installed. As we were not keeping this vanity, John destroyed it to get it out the door in more manageable pieces.
The next perplexing thing to remove was the floor - half of it was floating panels which were very easy to remove and the other half was stick on tiles to a raised subfloor...interesting! Turns out that the inch rise in subfloor was from a solid slab of corian...which is usually used for countertops and is VERY heavy as it is a slab of stone...perplexing. Even better, the previous owners had covered it with peel and stick flooring tiles. John had to figure out how to remove this slab of stone without breaking the toilet flange. His method, wrench it up with a crowbar and smack it with hammer to break it up into smaller pieces to make it easier to carry and dispose of. Low and behold, John is very sore after this weekend of demo, but the upstairs hall bath is an empty canvas now and ready to be remodeled.
(Here is a giant piece of the fancy "floor stone")
BEFORE DEMO:

AFTER DEMO:


This will be our focus for the foreseeable future as this is the only project that is keeping us from moving into the house! We are going to subway tile the tub/shower space with a white subway tile and accent a matte green tile in it to add a pop of color. For flooring, we are also going to use tile but plan to use a circular penny tile and add a fun pattern, stay tuned for what we come up with!
As we both had Monday off, we took it to our advantage to use this time to install our Ikea cabinets in the laundry room. Physically building the cabinet boxes did not take much time (reading the instructions is key as John decided to go off script on one and we had to dis-assemble it and start over...)! Once the boxes were assembled, they use a metal channel that hangs on the wall behind the cabinets and supports the weight. As we were not doing a continuous run, we had to cut the channel down to 3 pieces that would go behind our cabinets for support. We had to maneuver the washer and dryer out of the way so that we could get to the back wall and overall the space was very cramped when trying to install these. Lucky for us, there was a stud frame at the top of the wall (where one should be) so the tall side cabinets were able to go straight into that and we also lucked out with the lower cabinet as there was 2 studs to secure the channel to. The hanging system for the Ikea cabinets is quite simple to use but not all the screws were supplied so we had to scavenge to find some that we had on hand to work...really the only issue with Ikea furniture assemble that we have run into. The door installs were not the hardest but were also not simple as the instructions were not very straightforward but we were able to manage and figure it out. I am super happy with how the laundry room space turned out and with the finish of the Ikea cabinets. John had also built this floating shelf previously that hides the connection points for the washer and dryer with a cabinet skin from Ikea. All that is left in the bathroom/laundry room space is to paint the ceiling and that will happen once we move in.


Another week and another full dumpster, thanks for reading and stay tuned for some exciting transformations!


I love the butcherblock kitchen counters!