Holiday Shenanigans and Crisco Walls
- wrightkatiekrw
- Jan 2, 2023
- 5 min read
We have been busy working away at Wallpaper Acres over the past couple weeks. To start off our holiday break, we went to Memphis and visited Ikea. Yes, we did this on the Ice/Snow Storm Friday and the truck did great! By the time we were on the interstate, there we no issues and it was smooth sailing to the land of Swedish Furniture.
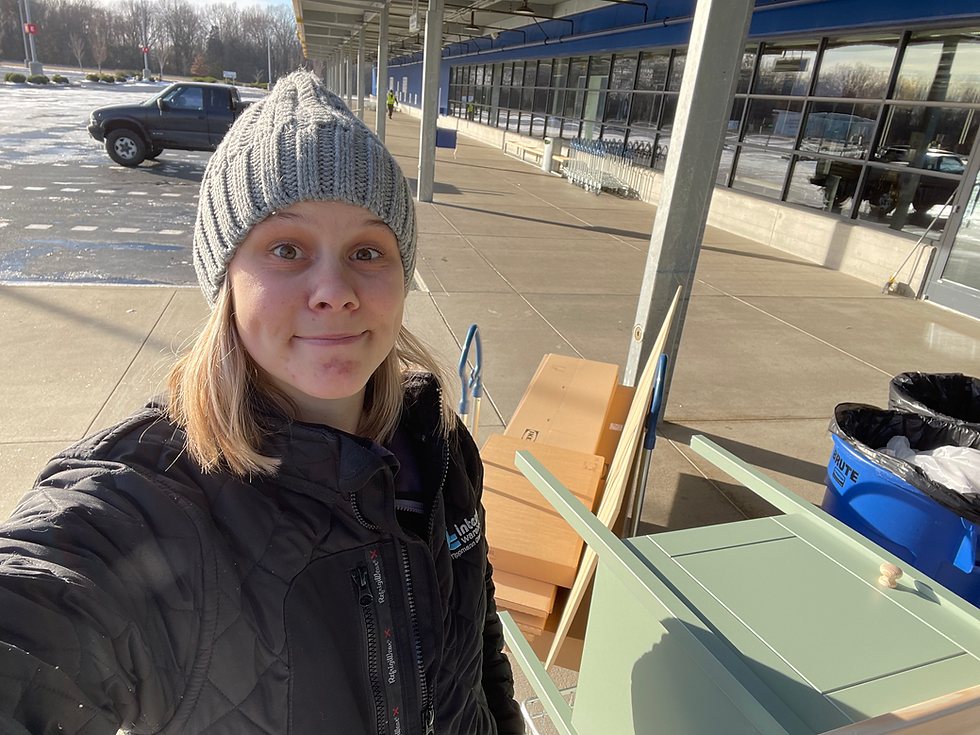
On Christmas Eve, I got to assemble the flatpack furniture and it was actually super easy. We have never truly struggled when building Ikea furniture and it is actually very self-explanatory with the instructions. I am very happy with my bookcases (see below) and we plan to place one or two floating shelves in between them.

Did we buy one wrong door...why yes, yes we did! John also wanted a bookcase so he will be using the full glass door on his when we order his and we will order the correct door for mine...not a big issue, just a minor setback! We also put the bedroom nightstands and lamps together and love how they look (yes, we have two nightstands, but the other was not assembled at the time of this photo)!

While I was building the Swedish furniture, John was downstairs prepping the kitchen and living room for paint. He was also working on one of the pantry closets. When we first toured this house, it was obvious that one of the kitchen pantry closets was where the cat's litter box lived (smell, claw marks, and a small cat door on the wall made it very evident). John had a great idea to cover the walls with beadboard and build floating shelves to have open shelving and get rid of the cat scratched walls. That project is still underway and we will post pictures once we are finished.
To prep for paint, he had to finish patching the kitchen ceiling and laundry room ceiling where previous light fixtures were hung. He also was priming the cabinets and getting them ready for paint. John worked really hard the week between Christmas and New Years while he was off of work to get the cabinets painted and finished as well as painting the kitchen and downstairs. The cabinets fell on the first half of the week while the walls and ceilings in the kitchen and living room were the back half of the week. (We will discuss the cabinets in a later blog).
Thursday, John finished sanding and prepping the walls for primer and paint. We wrapped up Thursday with all the walls primed and ready for paint. When we arrived Friday, we hit a speedbump...some of the primer was still not dry and looked like it was melting off the wall...so bizarre! It was similar to what we saw happen to the oil-base painted windows in the formal rooms downstairs...but these walls had wallpaper on them previously so we were stumped. We also took the time to prep them correctly. John's theory is that it was overspray of some sort of oil-based paint as it was mostly near the trim. Mine, which is much more realistic, is that the previous owners rubbed Crisco all over the walls to spite the future homeowners when they tried to paint :)

So, John spent the next couple of hours, wiping off the wet paint and sanding down the walls (see below). The good news was that we got primer to stick after John spent time doing these things.

We also said some choice words towards the window covering as for whatever reason, they kept falling. We had to redo them 2-3 times which was just annoying, the painters tape was not sticking to itself and kept failing. This had to be corrected as we did not want to paint the windows. I am thinking it has to do with the colder weather but who knows...we splurged and bought the fancier tape and that seemed to fix the issue. (Also, the 3M tape had a 100% failure rate this time around so we ended up using the tape of amphibian nature and it worked great!) From here, John got the paint sprayer out and started spraying the trim in the kitchen and living room. Once that was done, we left for the day as that dried.
On Saturday, we returned for more paint prep...woohoo! We taped off the newly painted trim and once that was done, sprayed on the wall color, Silver Tipped Sage (another Sherwin Williams color). We went about covering the crown molding differently this time as last time the plastic fell down immediately after one coat of paint. So we decided to tape the entirety of it.


(Also peep a special sneak peak of the cabinets...yes, we love them but this post is not about them, they will get their own!)
We were hopeful to get 2 coats of Silver Tipped Sage on the walls on Saturday but it was soooooo humid! So we settled for letting the paint properly dry and returned Sunday morning to finish up painting. The second coat went on a lot better and dried quicker as we brought up the dehumidifier and opened the windows because the weather was beautiful! I stepped away for lunch while John painted the remaining baseboards to be installed at a later time.
We had our first non-family tour as mom and her friend, Ms. Sharon, stopped by after lunch and we walked them through the house. Mom has seen throughout the process but Ms. Sharon was a first-time visitor and it was nice to be able to show off our progress and vision for what is left! They loved the colors and were big fans of how everything was turning out! Once they left, we prepped the walls again for the painting of the ceiling as we did not want the overspray to dust our newly painted walls. That took about 30-45 minutes then we were ready to paint the ceiling. That process went pretty smoothly and we left for the day to let them dry.

Monday included removing the paper from the floors and the remaining tape and plastic from the walls and crown molding. Man, does it feel great to have all of the painting via paint sprayer done for the time being! I know John is excited to work on other things. John was also able to cut and dry fit a lot of the baseboards which was something that we did not think we would get to. Take a look at this before and after of the living room, what a transformation! (Aside, from the fireplace which we will be painting our accent color Peppercorn and leaving the brick surround).
BEFORE

AFTER

The other exciting part of the holiday break was our Habitat finds! No, we have not found my office door but we did find a handful of other things at a great value. First, we found a new stainless vent hood for over the stove. We were not going to buy one as they are expensive but when we found this one which was new and still in it's original, unopened packaging for 50% off, it was a no-brainer as the one with the house was not in the best shape. We also found drawer pulls for our kitchen cabinets...who knew that those can be pricey...they just add up quickly so we did not complain when we found 18 for $1 each! That will take care of all the lower cabinets and we are going to have some fun with the upper cabinet hardware...John is searching on eBay for something that speaks to us...LOL! We also found 2 new vent covers for the master bedroom for 30% off each. Any level of savings that we can find is great, it helps us keep the project on budget. Habitat has been a great resource and we are excited to see what we find next!
Thank you for reading and stay tuned for a cabinet update and the full kitchen refresh update as that is our project for next weekend!


Comments